A soil test saves you a lot of money because it tells you what your land really needs instead of guessing. But the result is only right if the sample is taken properly.
Taking the sample
1. Divide the field into parts that are similar in soil and previous crop.
2. Take sub-samples from 10 to 15 spots in each part, walking in a zigzag.
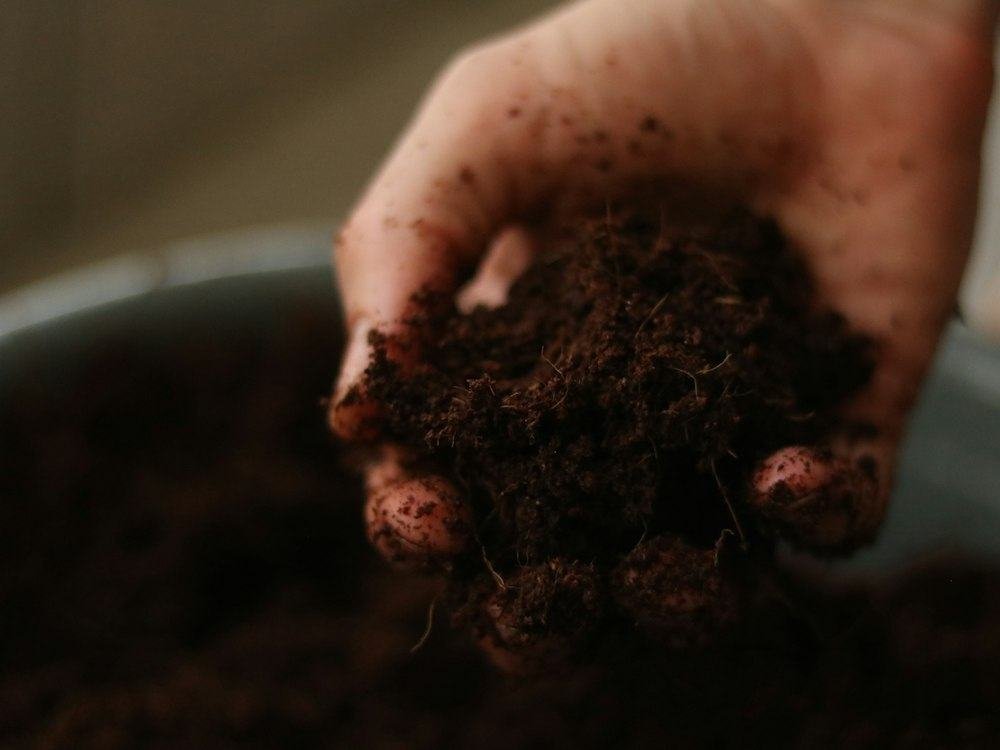
3. Take them from the same depth (usually 0-20 cm) after clearing surface vegetation.
4. Mix the sub-samples well in a clean container and take about half a kilogram.
5. Label the sample and send it to the laboratory.
Avoid sampling right after fertilizing, or from unusual places such as field edges.
What the results mean
- pH: controls how available nutrients are to the plant.
- Salinity (EC): high salinity weakens growth and needs leaching and special management.
- Organic matter: a sign of fertility and water-holding ability.
- Nitrogen, phosphorus and potassium: the basis of a fertilizer programme.
We offer soil and water analysis to pin down exactly what your land needs.
When to sample
Early enough before the season to act on the fertilizer advice, and ideally at the same time each year so comparisons are fair. Avoid sampling very wet soil.
After the report arrives
Ask a specialist to explain the recommendations, record the results in the farm notebook, and repeat the test every year or two to track change. Repeated tests show whether your soil is improving or declining.
Have a question, or need agricultural advice?
Contact us